Creative Portfolio Post 7

spirited-away-gif

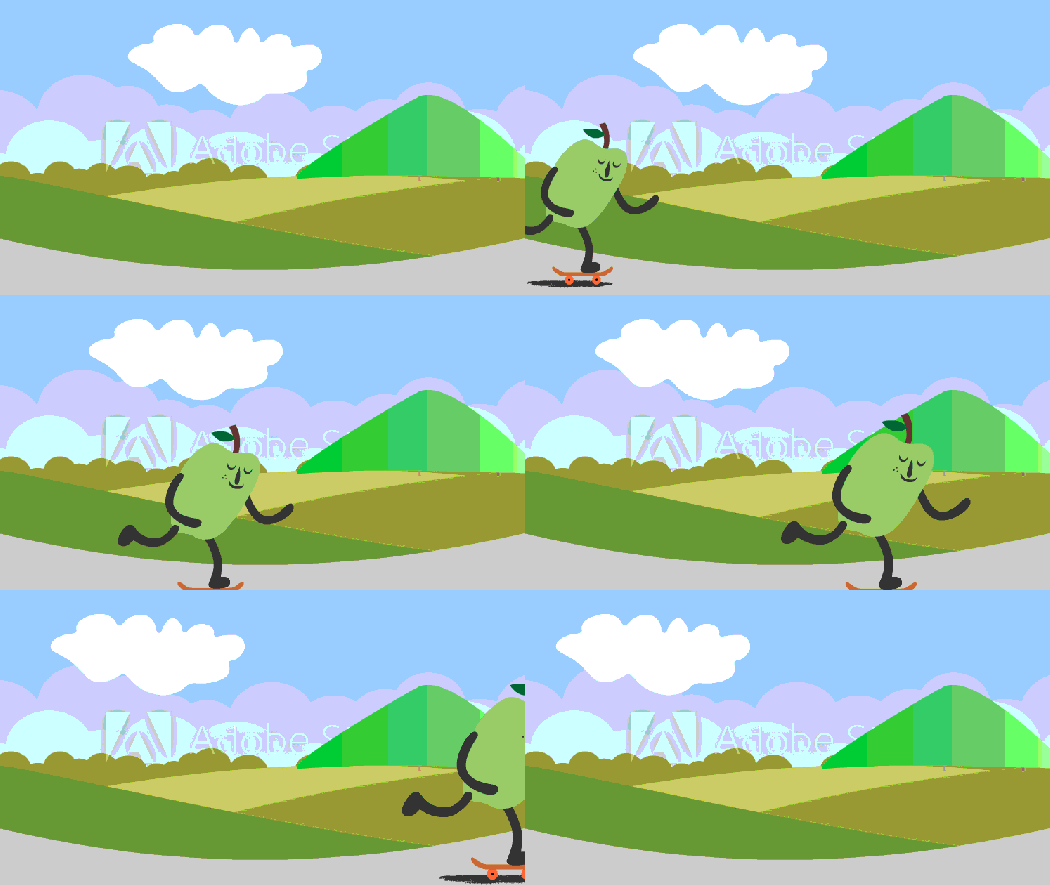
A break from Photoshop. I like creating animations in GIMP because the frame by frame interface is easy to utilize and understand. It is an intuitive layout which assists beginners who may not have mastered animation all the way. I think along the course of this creative portfolio, I have acquired a deeper understanding and appreciation for the art and craft of animation. I am definitely far away from having completely mastered it, but even after the end of this portfolio journey I will work hard to keep improving my skills. I may never become a true animation master, but I will continue learning and growing as an artist.

Creative Portfolio Post 6

dicho-2

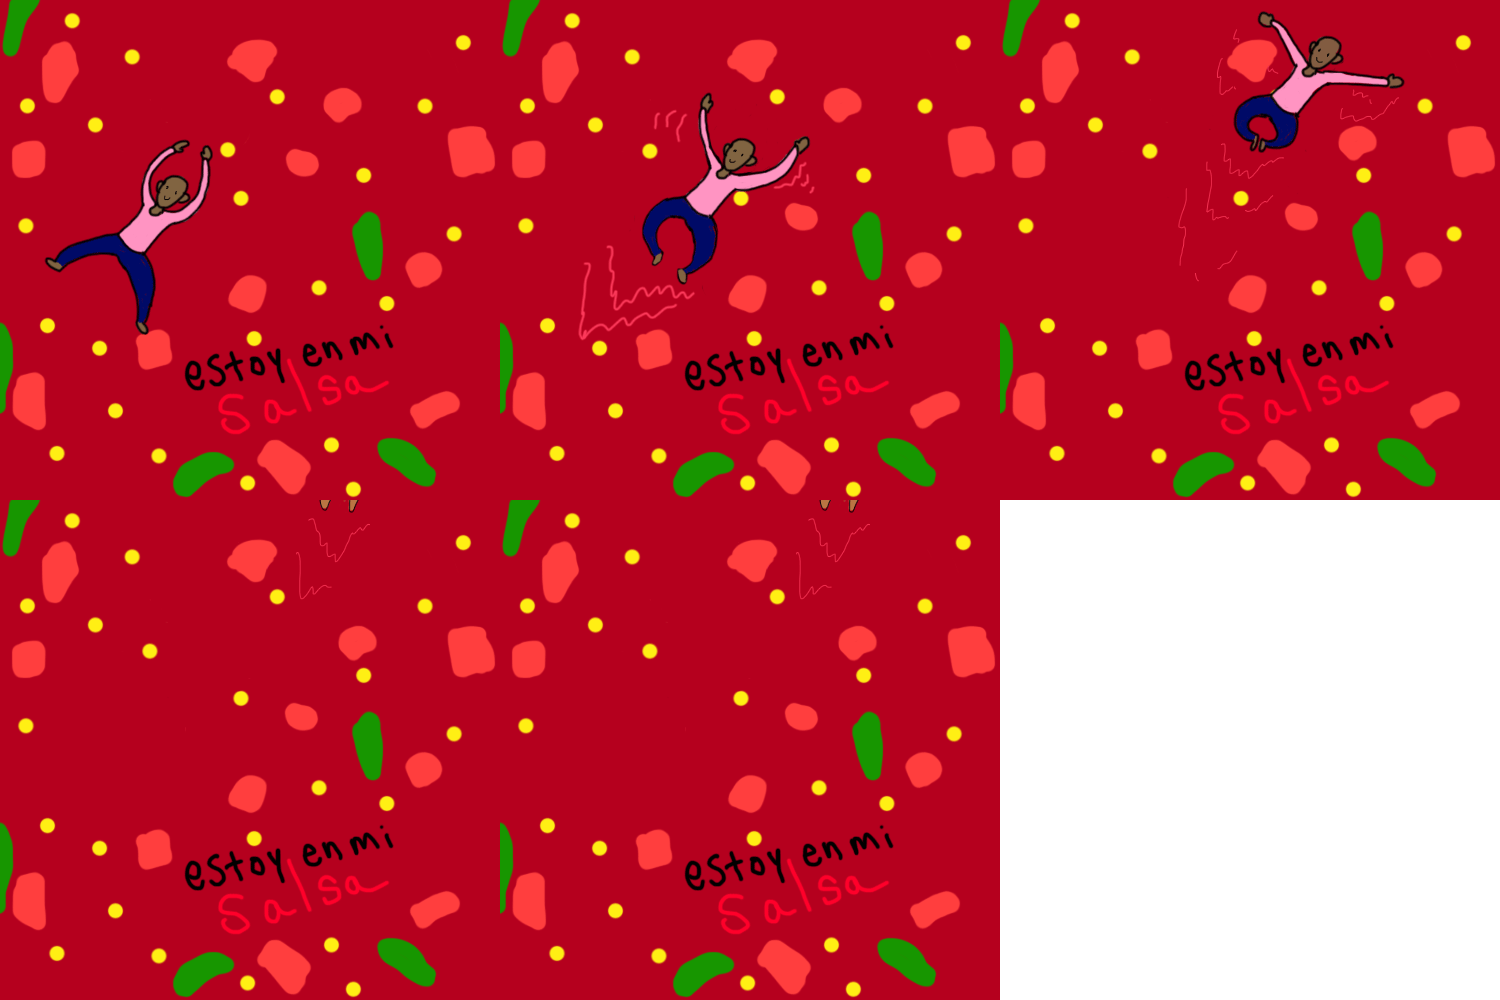
Another gif made in photoshop. This one was a bit more complicated than the last, because the moving element interacts with some of the background. As the man swims, some of the chunks in the salsa had to be pushed away to create a more realistic cause/effect relationship and make it look like he is swimming on the surface instead of simply floating in the air above.

Creative Portfolio Post 5

dicho-1

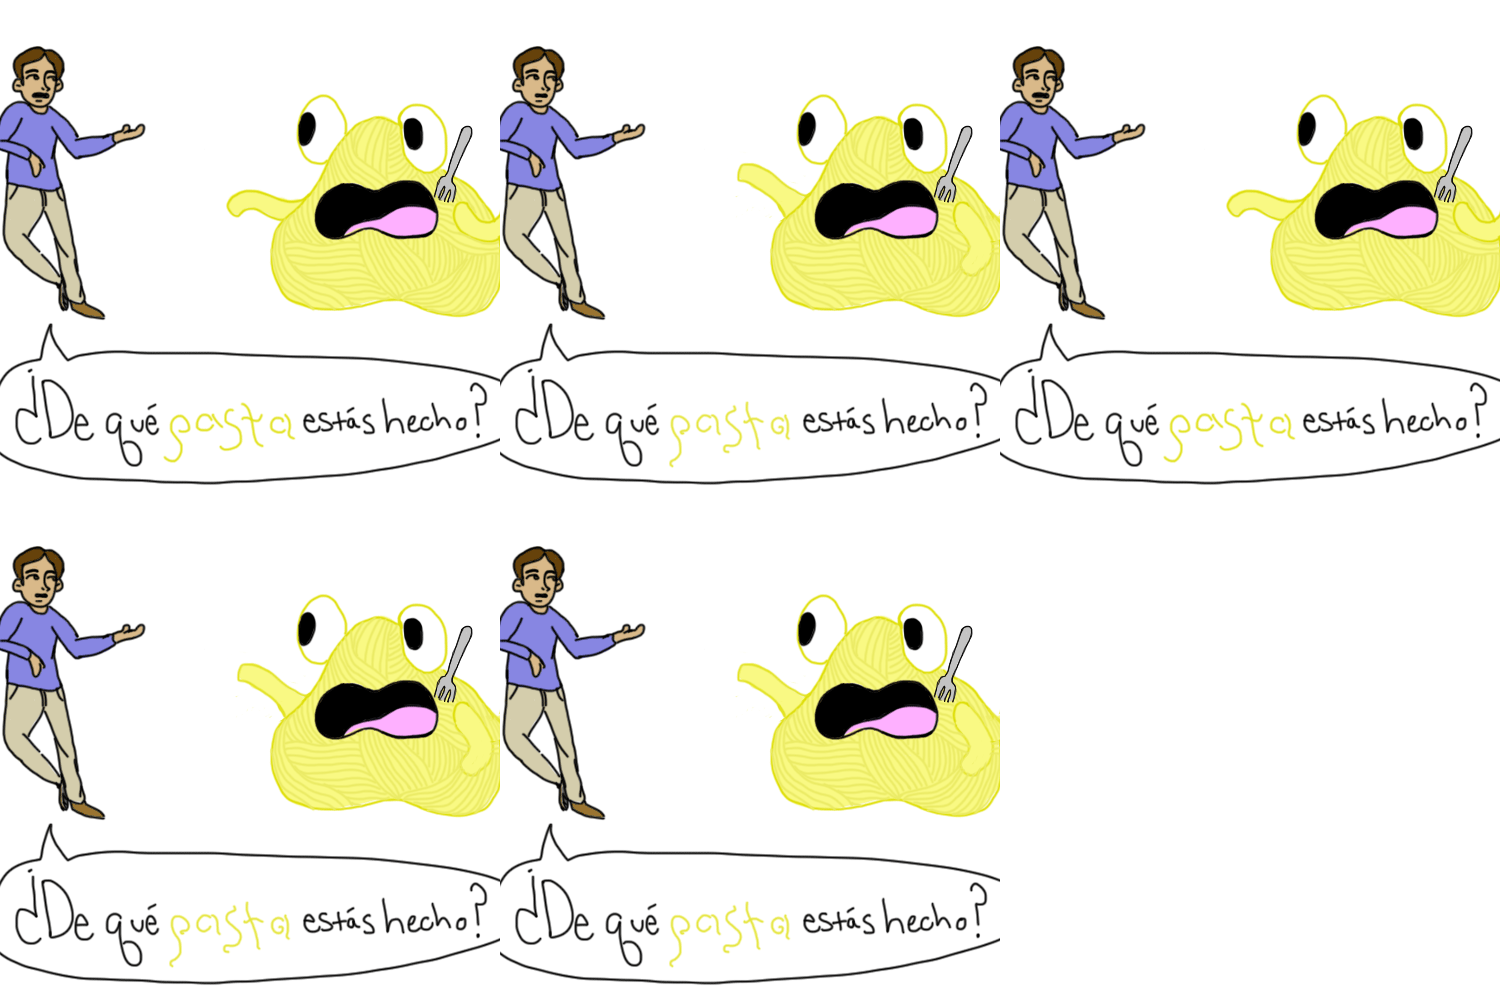
Another animation made in Photoshop! As you can see, there are more things happening in this image than there were in the last gif. Last time, the girl was blinking and the lights got smaller/larger with time but this one has real (kind of) movement! There’s a lot of layer acrobatics with this one, but using Photoshop is helpful because you get to choose what you want to be visible or invisible by clicking on the eye symbol with each layer. You can use these to choose which group of layers you want to be visible with every frame you create. For example, I had a group of layers where the pasta guy had his arms a certain way and then another layer group with a different pose. I made one group visible while the other group was invisible, then “duplicated” the visible layers into a frame in the Photoshop timeline. Then, I unselected those layers and made visible the group that had a different arm pose. With this new layer group, I added another frame. There was a similar process for the man’s mouth and the squiggly words.

Creative Portfolio Post 4

blinking-girl-w-lights

Mastering the basics! As you can see here, this girl is blinking. The lights around here also blink in sync! I’ve learned to do basic animations in Photoshop instead of using Animate CC and getting overwhelmed by the resources I’ve yet to learn how to use. Using Photoshop for basic animations like this is a great way to get introduced to animation. As you can see, the weird motion lines that were present in the animation I made in GIMP are not present here. Photoshop is very clean and easy to use. This was created through the Timeline window under Windows in the Photoshop interface.

Creative Portfolio Post 3

There are many benefits to using a tablet and utilizing digital drawing programs compared to traditional art. For example, color choice is expanded infinitely by using digital programs. If drawing with markers, you have to buy all the colors of the marker or at least enough to get a wide variety of colors and then use pressure / overlapping strokes to create different hues and shades. While drawing digitally, you have access to a multitude of colors, tints, patterns, and textures.

However, one thing you can depend on is that if you have many types of markers and traditional supplies, it’s likely that they won’t all break at once. This is not unlike what happened to me a while ago, when my tablet stopped working. I felt instantly cut off from the world of digital art, as it is a debilitating demotion to be made to use a laptop touchpad (not even a mouse!) to draw instead of a tablet.

I’ve tried for a long time to fix this tablet but it doesn’t look like there’s anything I can do to make it work again. Also, every action I take is with extreme apprehension because I don’t want to break my tablet while attempting to fix it.

For this reason, I’ve bought a newer, cheaper (but smaller as well) tablet to use for the time being. More animation is on its way. Sorry for the lapse.

Creative Portfolio Post 2

mosca

This image, entitled mosca.gif, was made in GIMP. GIMP is a free to use program that is a great place to start if you want to dip your toes in animation waters. It utilizes a simple frame-by-frame animation system that you can see here. When using GIMP, it’s clear you get what you pay for. The motion lines in this gif were not drawn in by me and it should be a clean animation of a little fly flying around but when I saved it, these weird lines appear. For people that are serious about animation, it might be worth it to just invest in a better animation program.

First Creative Portfolio Post

animation-practice

This is the first installment of my creative process portfolio. As I progress this semester, I expect my skills to grow from this rudimentary animation level, made simply by following a tutorial, to the point where I can use my own set of skills and will have mastered Animate CC to complete all the steps of a successful animation. It will become more clear what this entails as I venture through this journey.

I made this! (by following this tutorial) In the testing window, his arms pump and I definitely did the work to make his arms move but for some reason it didn’t come along when I exported it to this .gif file 😦 I am posting it with the mistake because I believe it’s important to be perfectly candid with my audience so that my growth and artistic journey can be fully seen and understood. It wouldn’t be a creative process portfolio if I didn’t have ample space to improve! Next time will just have to be better 🙂